Networking · VPN Setup Guide
Plenty of devices simply can't run a VPN app at all — Meta Quest, most smart TVs, game consoles, and older hardware included. If your internet access depends on a VPN, that's a real problem for anything that can't install one directly.
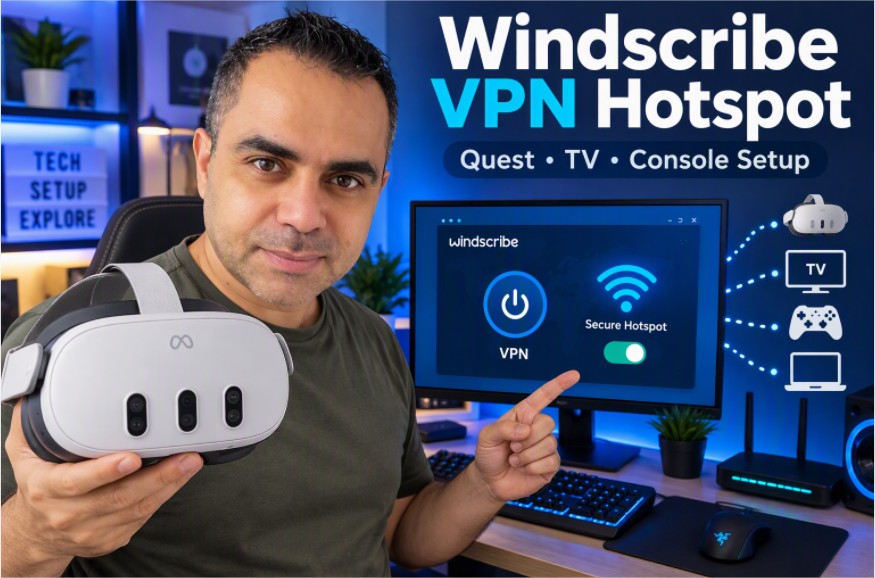
This guide walks through the exact solution: using Windscribe's own built-in Secure Hotspot feature to turn a Windows PC into a Wi-Fi access point that automatically routes every connected device through the VPN tunnel. No manual adapter configuration, no digging through Windows network settings — Windscribe handles the entire sharing process from inside its own app. Covered here is the full setup from installation through connecting a device like a Meta Quest headset, plus the real troubleshooting steps for when it doesn't work on the first try.
📋 Table of Contents
- Why This Setup Exists in the First Place
- Step 1: Downloading and Installing Windscribe
- Step 2: Connecting to the VPN and Confirming Your IP Changed
- Step 3: Creating the Secure Hotspot
- Step 4: Connecting Other Devices to the Hotspot
- What Your PC Needs for This to Actually Work
- Troubleshooting: When the Hotspot Doesn't Provide Internet
1. Why This Setup Exists in the First Place
A VPN app needs to be installed directly on a device to protect that device's traffic — that's simply how the software works. The problem is that a large category of hardware never got a proper VPN app at all: the Meta Quest line, most smart TVs, gaming consoles, and a fair number of older or locked-down devices. If a VPN is the only way to get reliable, unrestricted internet access in the first place, any device without a native VPN app is simply stuck with no way around that.
Windscribe solves this with a feature built specifically for this scenario, called Secure Hotspot: your Windows PC connects to the VPN as normal, then broadcasts its own Wi-Fi network that automatically shares that same VPN-protected connection with anything that joins it — a headset, a console, a second phone — without needing to install anything on that device at all.
2. Step 1: Downloading and Installing Windscribe
- Go to Windscribe's official website.
- Click the download option for your operating system (Windows).
- Install the program on your computer or laptop.
- Create a new account and sign in inside the app.
3. Step 2: Connecting to the VPN and Confirming Your IP Changed
- Click the connect button inside the app to connect to one of Windscribe's servers.
- To confirm the connection actually worked, open a browser and visit an IP-checking site such as whatismyipaddress.com, and confirm both your country and your IP address have changed to match the server you connected to.
4. Step 3: Creating the Secure Hotspot
- Open the menu inside the Windscribe app.
- Go to the Connection section.
- Scroll down within that menu until you reach the Secure Hotspot option.
- Turn on the Secure Hotspot feature.
- Click the pencil icon next to the network name field and set your own name for the network (SSID).
- Click the pencil icon next to the password field, set a password for the network, and save it.
5. Step 4: Connecting Other Devices to the Hotspot
- On the device you want to connect — a Meta Quest headset or a mobile phone, for example — search for available Wi-Fi networks.
- Select the new network you just created and enter the password.
- The device will now work directly through the VPN connection, bypassing restrictions with no further setup needed on the device itself.
6. What Your PC Needs for This to Actually Work
Secure Hotspot is a Windows-only feature — it isn't available on Windscribe's Mac, Linux, iOS, or Android apps. A few other conditions matter too, according to Windscribe's own documentation:
- Your PC needs to be running Windows 8 or newer.
- Your wireless network card needs to support what Windows calls a "hosted network." Most modern laptops support this, but some older or budget wireless adapters don't, and there's no software workaround if the hardware itself lacks the capability.
- Windscribe itself describes this feature as somewhat experimental, since it relies on tapping into a Windows networking capability rather than something Windscribe built entirely from scratch — worth keeping expectations realistic rather than assuming it will behave with total consistency on every setup.
7. Troubleshooting: When the Hotspot Doesn't Provide Internet
- The device connects to the Wi-Fi network but has no internet access: restart your computer. Windscribe's own support documentation specifically notes this resolves the majority of cases where Secure Hotspot connects but doesn't actually pass traffic through.
- The Secure Hotspot option won't turn on at all: this typically means your wireless adapter doesn't support hosted networks. Checking for an updated wireless driver from your laptop manufacturer occasionally resolves this, though on some hardware it's a hard limitation with no fix.
- Your IP address didn't actually change when you checked it: confirm Windscribe genuinely shows as connected, not just attempting to connect — try a different server location if the first one fails to establish properly.
- The connection is slow or drops frequently on the connected device: try switching Windscribe's protocol in its settings, since some protocols perform more reliably than others depending on your specific network conditions.
For a complete, real-world walkthrough of this exact setup being used to get a Meta Quest headset online, here's the full video:
Explore More Awareness & Security Content
Discover more security tips, threat analysis, hacking awareness, and practical guides designed to help you stay safe online.
Visit Awareness & Security →