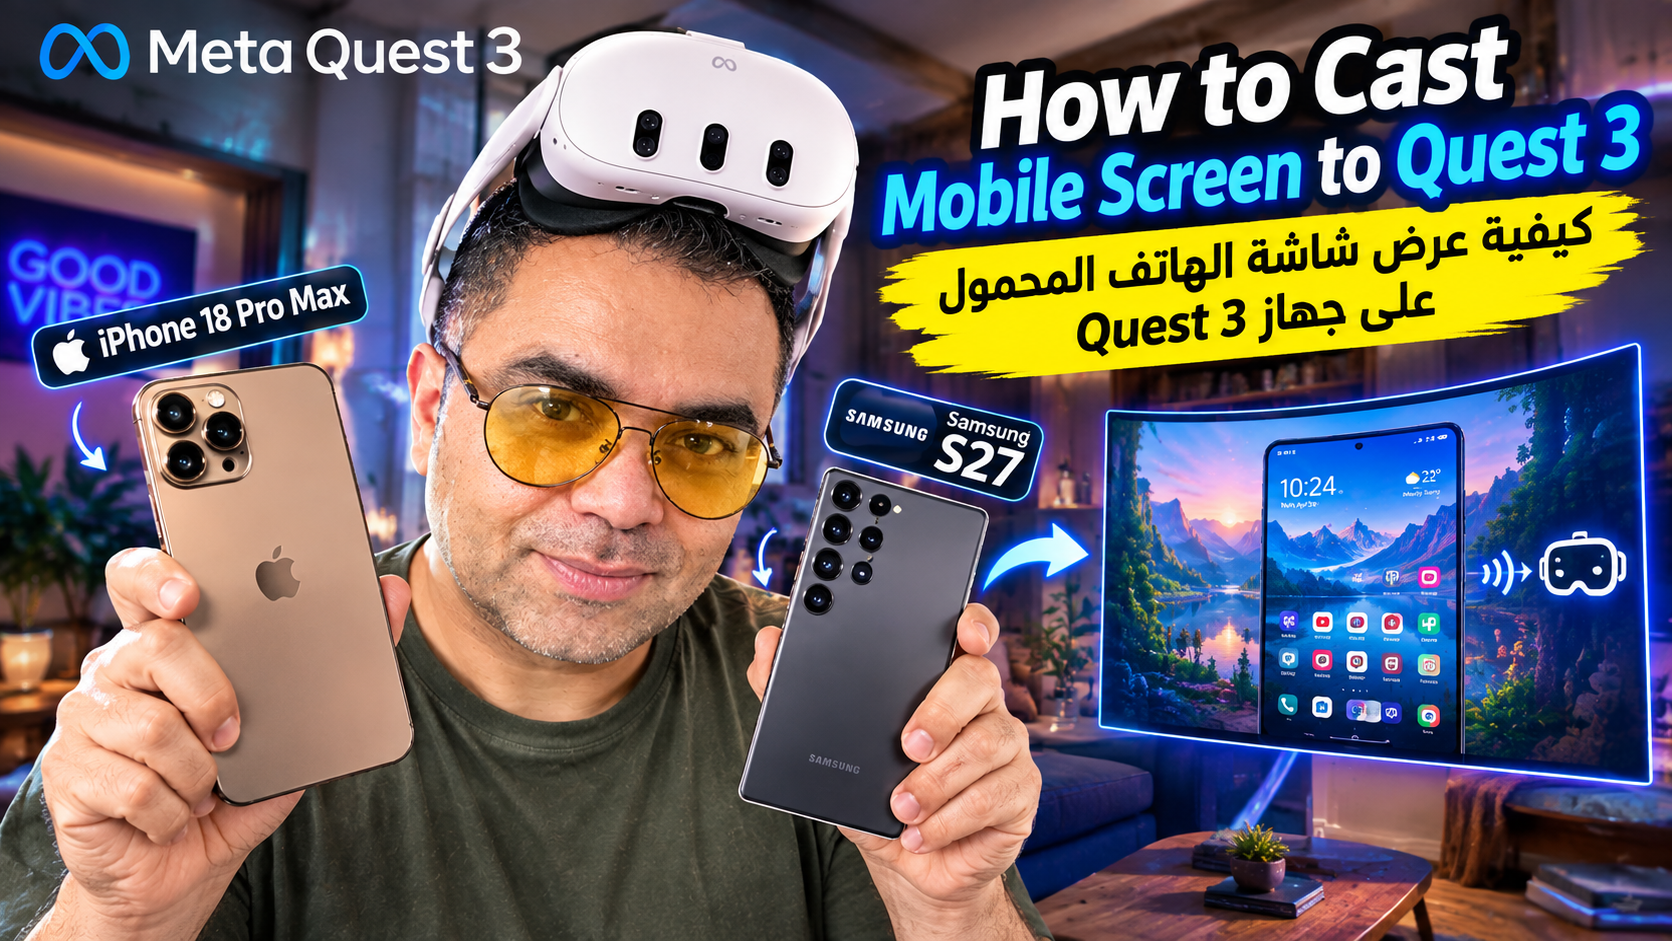
Meta Quest · Screen Mirroring Guide
Most screen-mirroring apps on Meta's official store want nine to twelve dollars before you can even see your phone inside your headset. There's a genuinely free way to do the exact same thing, and it takes about ten minutes to set up.
This is a complete, beginner-friendly walkthrough for casting your iPhone or Android screen into Meta Quest using AirPin Pro, a free third-party app installed through the headset's own browser — no PC, no paid app, and no SideQuest required. It's based on and expands a video walkthrough on this exact topic, adding the full sideloading setup, a working troubleshooting section for the network issues people run into most, and a couple of unrelated but genuinely useful bonus tips for other apps on the headset worth knowing about.
📋 Table of Contents
- Why This Doesn't Need to Cost Anything
- Step 0: Enabling Developer Mode on Your Quest
- Step 1: Downloading AirPin Pro Through the Quest Browser
- Step 2: Installing It From Unknown Sources
- Step 3: Getting the Settings Right, Especially Resolution
- Step 4: Casting From an iPhone
- Step 4 (Alternative): Casting From Android
- Troubleshooting the Problems Beginners Actually Hit
- Two Unrelated Bonus Tips Worth Knowing
1. Why This Doesn't Need to Cost Anything
Meta's official Quest store does have screen-mirroring apps, and they generally work fine. The catch is the price — most sit somewhere between nine and twelve dollars for what is, underneath the branding, a fairly simple job: receive a video stream from your phone and display it on a virtual screen inside the headset. That exact functionality already exists as a free, well-established Android app called AirPin Pro, originally built for mirroring phones to smart TVs and set-top boxes. Since Quest runs on a modified version of Android, the same app installs and works on it directly, no adaptation required.
2. Step 0: Enabling Developer Mode on Your Quest
Before your headset will let you install anything outside Meta's own store, it needs Developer Mode turned on. This is a one-time setup.
- On your phone, open the Meta Horizon app (this is Meta's official companion app for managing your headset).
- Go to the Menu tab, then Devices, and select your headset.
- Tap Headset Settings, then look for Developer Mode and switch it on.
- If you're prompted to create a Meta developer account first, this is free and only takes a minute — you don't need any programming experience to do this part.
- Put the headset on, and you should now see a Unknown Sources app available in your app library, usually under the Settings or Apps section — this is where anything you sideload will end up.
3. Step 1: Downloading AirPin Pro Through the Quest Browser
No computer needed for this part — everything happens directly inside the headset.
- Open the Browser app inside your Quest.
- Go to uptodown.com, a well-known, long-running third-party Android app repository.
- Search for AirPin Pro.
- Tap the download button and confirm. The APK file downloads directly to your headset's storage, the same way a file would download on a phone's browser.
4. Step 2: Installing It From Unknown Sources
- Open the Unknown Sources app in your library.
- You'll see the AirPin Pro APK file you just downloaded listed there. Select it and confirm the install.
- Once installed, it appears in your regular app library alongside your normal Quest apps, and you can launch it like anything else.
5. Step 3: Getting the Settings Right, Especially Resolution
When you first open AirPin Pro, it displays a broadcast name for itself, something generic like ITV_200 — this is the name you'll be looking for from your phone in a moment.
- Open the app's settings from within AirPin Pro.
- Find AirPlay Display Resolution and set it to 4K for the sharpest possible result — this matters more than most beginners expect, since a low default resolution can make mirrored text genuinely hard to read once it's blown up to headset-screen size.
- Confirm your Quest and your phone are connected to the exact same Wi-Fi network. This is the single most important requirement for any of this to work, and it's the first thing to double-check if the next step doesn't find anything.
6. Step 4: Casting From an iPhone
- Swipe down from the top-right corner of your iPhone's screen to open Control Center.
- Tap the Screen Mirroring icon — it looks like two overlapping rectangles.
- Your Quest's broadcast name (the one AirPin Pro showed you earlier) should appear in the list. Tap it.
- Your entire iPhone screen should now appear inside your headset, large and clear, and it follows in real time as you use your phone normally.
7. Step 4 (Alternative): Casting From Android
Worth being precise here, since this is where a lot of guides get sloppy: AirPlay itself is an Apple-only protocol, which is why the iPhone method above works so directly through Control Center. AirPin Pro also supports DLNA, a separate, older casting standard that many Android phones and media apps can use instead. In practice, this tends to work more reliably for casting specific media — videos, photos, music — from an Android app that has its own "Cast" button, rather than mirroring your entire live phone screen the way iPhone's Screen Mirroring does. If your specific Android phone's Quick Settings panel includes a "Smart View" or "Cast screen" option, it's worth trying that first and selecting your Quest's broadcast name the same way — results vary somewhat by phone manufacturer, since not all Android skins implement full-screen casting identically.
8. Troubleshooting the Problems Beginners Actually Hit
- Your phone can't find the Quest's broadcast name at all: this is almost always a Wi-Fi mismatch. Double-check both devices are on the identical network — not just two networks with similar names, and not one on 2.4GHz while the other's isolated on a guest network.
- Devices are on the same Wi-Fi but still can't see each other: some home routers enable a setting called "AP Isolation" or "Client Isolation" by default, which deliberately blocks devices on the same network from discovering each other for security. Check your router's wireless settings and turn this off if it's enabled.
- The mirrored image is laggy or blurry: confirm the AirPlay Display Resolution setting is actually set to 4K and saved — this setting can silently revert if the app updates or restarts unexpectedly.
- The Unknown Sources app is missing entirely: this means Developer Mode wasn't fully enabled, or the headset needs a restart after enabling it — go back through the Meta Horizon app steps and confirm the toggle actually shows as on.
- Screen Mirroring option is grayed out on iPhone: this usually means no AirPlay-compatible device was found on the network yet — reopen AirPin Pro on the Quest to make sure it's actively running and broadcasting before checking Control Center again.
9. Two Unrelated Bonus Tips Worth Knowing
A couple of small discoveries worth passing along, even though they're separate from the mirroring setup itself.
For more free tutorials and hands-on Quest experiments like this one, the "Virtual Reality and Mixed Reality" playlist covers dozens of similar walkthroughs: youtube.com/playlist?list=PL4UyCxi9Jr9NCSH3Hf52fVjaNH7eJVm0O.
Explore More Awareness & Security Content
Discover more security tips, threat analysis, hacking awareness, and practical guides designed to help you stay safe online.
Visit Awareness & Security →