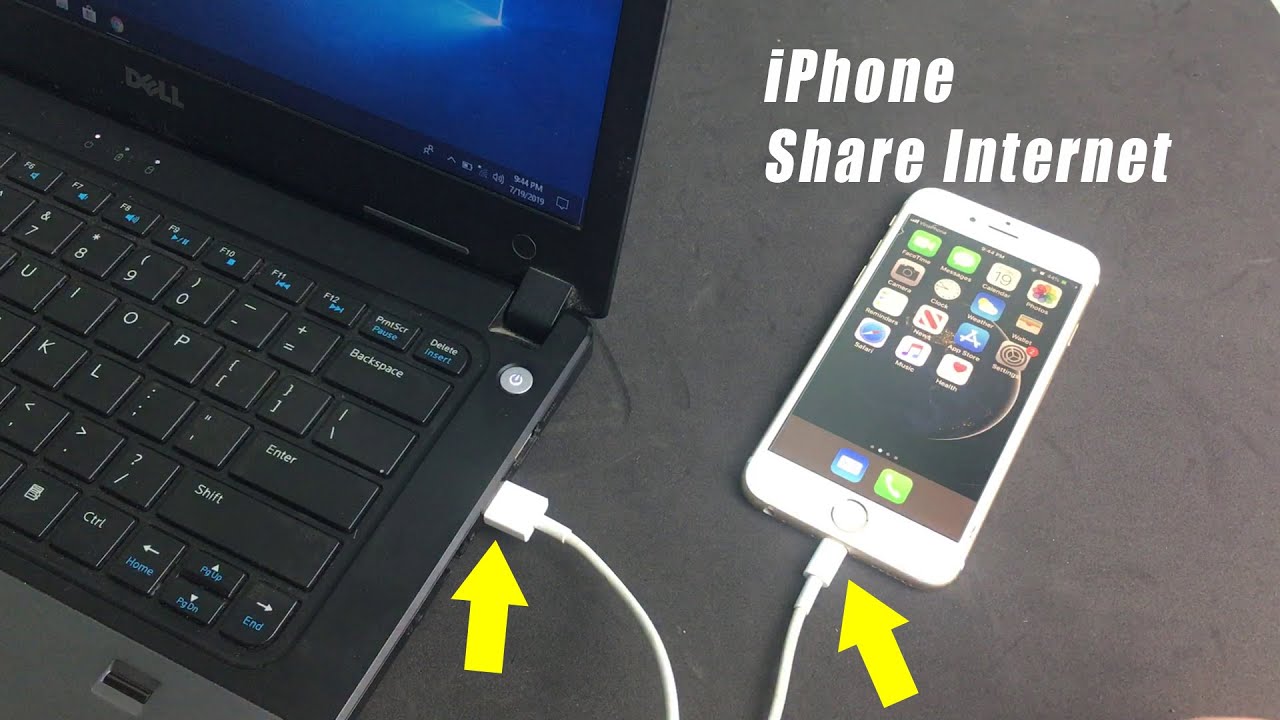
Here I describe step by step process to share PC's internet to your iPhone over USB data cable.
First and for most we need a jailbreak iPhone with Cydia installed.
In iPhone you have to install these things in order to get online through USB Cable.

Jailbreak your iPhone using Redsn0w (recommended) because it auto installs required ssh technique to the iPhone. Install OpenSSH and OpenSSL(usually auto installs with OpenSSH). And make sure that OpenSSH is active, For that you have to install SBSettings with SBSettings to Enable or Disable SSH.
Turn off WIFI and Turn on Data/Edge. Also make sure your APN settings are correct for your Data plan.
Note.
If you jailbreak through blackra1n or any other method except Limera1n (Redsn0w). You must install afc2add through Cydia.
In PC you have to download the latest version of IFunbox v1.9.
Download and install Privoxy v3.0.19.
Download and extract Bitvise Tunnelier
For making iPhone online via USB Cable you all need to do minor change in iPhone's default setting file, called Preferences.plist.
To force the iphone to use http proxy on its primary, gprs/edge interface?
There is no menu in iphone settings to change it (unlike the wifi), it is not documented but it is possible.
The trick is to change the iphone's preferences file in the following location.
/private/var/preferences/SystemConfiguration/preferences.plist (for 1.1.3 to 5.0.1 iOS)
You can use IFunbox or Diskaid to drag and drop that preferences.plist file to your locak hard drive and please backup this file another location also.
Now open that file in plist Editor (for Windows) to change it's credentials.
find the area containing text
<key>Interface</key>
<dict>
<key>DeviceName</key>
<string>ip1</string>
<key>Hardware</key>
<string>com.apple.CommCenter</string>
<key>Type</key>
<string>com.apple.CommCenter</string>
<key>UserDefinedName</key>
<string>com.apple.CommCenter (ip1)</string>
</dict>
right after that line add the following lines
<key>Proxies</key>
<dict>
<key>ProxyAutoConfigEnable</key>
<integer>1</integer>
<key>ProxyAutoConfigURLString</key>
<string>file:///private/var/preferences/proxy.pac</string>
</dict>
so you can find final result as below
<key>Interface</key>
<dict>
<key>DeviceName</key>
<string>ip1</string>
<key>Hardware</key>
<string>com.apple.CommCenter</string>
<key>Type</key>
<string>com.apple.CommCenter</string>
<key>UserDefinedName</key>
<string>com.apple.CommCenter (ip1)</string>
</dict>
<key>Proxies</key>
<dict>
<key>ProxyAutoConfigEnable</key>
<integer>1</integer>
<key>ProxyAutoConfigURLString</key>
<string>file:///private/var/preferences/proxy.pac</string>
</dict>
Remember not to add Proxies lines under any other Interface because there might be more interface lines with ip2 , ip3 or ip4 strings. So must add after ip1 string's interface. and also if you find already having proxies key, just delete complete key up to </dict>.
in this process we force iphone to call IP from proxy.pac. Now add the proxy.pac file in described directory.
Open notepad and copy paste this text
function FindProxyForURL(url, host)
{ return "PROXY 127.0.0.1:8118"; }
save as name proxy.pac (make sure not to proxy.pac.txt)
now drag this proxy.pac file to
/private/var/preferences/
using iFunbox or diskaid.
Before getting iPhone online you must have replaced Preferences.plist over original one. And also place proxy.pac into defined directory.
Once you get all these things in right direction, Now you are ready to go for step by step process.
Step 1.
Connect iPhone to PC using USB Cable. Close iTunes if opened auto.
Step 2.
Run Privoxy that download and installed earlier. You can minimize Privoxy to sys tray.
Step 3.
Run iFunbox, wait to connect your iPhone and then click on left side named "USB Tunnel" wait for few seconds and you should now see
iOS Port PC Address
22(SSH) IP:22
where IP is your local IP (Example: 192.168.1.3, or 10.10.1.5)
Step 4.
Run TunnelierPortable.exe that you extracted earlier, Enter the IP you find on iFunbox USB Tunnel to the host field under Server into the login tab.
Port = 22
username = root
password = alpine (choose initial method as Password
go to S2C Fwding tab
add these values
Status = Enabled
Listen Interface = 0.0.0.0
List. Port = 8118
Destination Host = 127.0.0.1
Dest. Port = 8118
Comments = Reverse port to Privoxy
Step 5.
Now hit Login button and Yuppy.
